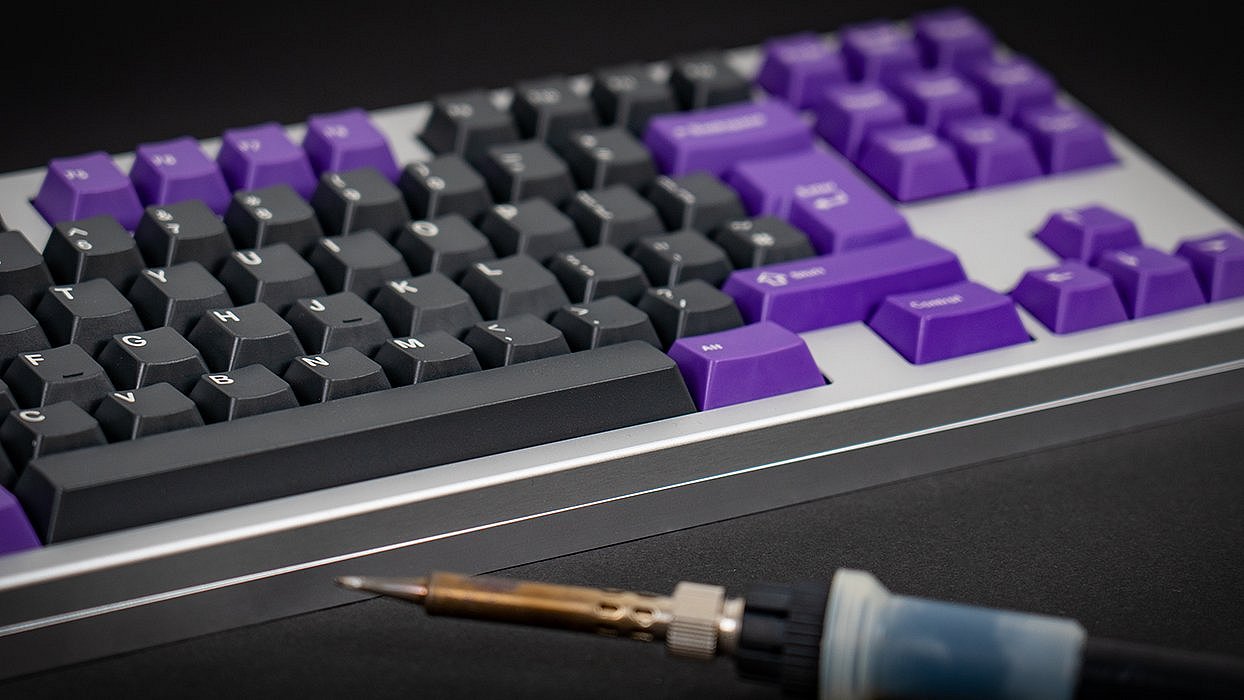
[HOW TO] DIY KEYBOARD – PART 6: PUTTING THE KEYBOARD TOGETHER
04/2020 by SEBASTIAN VREE/HOLGER DASSLER - Back to overview

In the first five parts of our DIY series we have shown you the required components and tools for your custom keyboard. This means that all the necessary steps have been taken to start the assembly. There are some important steps to follow, so this part focuses on showing you how to build a functional keyboard from the individual components.
Have you decided which keyboard format you would like to build and have you organized the necessary components and tools? Then you can finally start assembling. However, the project should be approached carefully and some precautions should be taken. This includes, among other things, that you should only solder in a well-ventilated room. All further steps are not just shown in the video, but also further down in the text:
Check PCB for correct functionality
First the PCB (Printed Circuit Board) should be tested for functionality to ensure that there are no defects before soldering. First, connect the PCB to your computer via USB. After that, start the test program which we have linked below. This will test all individual contacts. You’ll need a bent wire or tweezers for this. How exactly this works, you can see in the video above.

Define layout and insert buttons
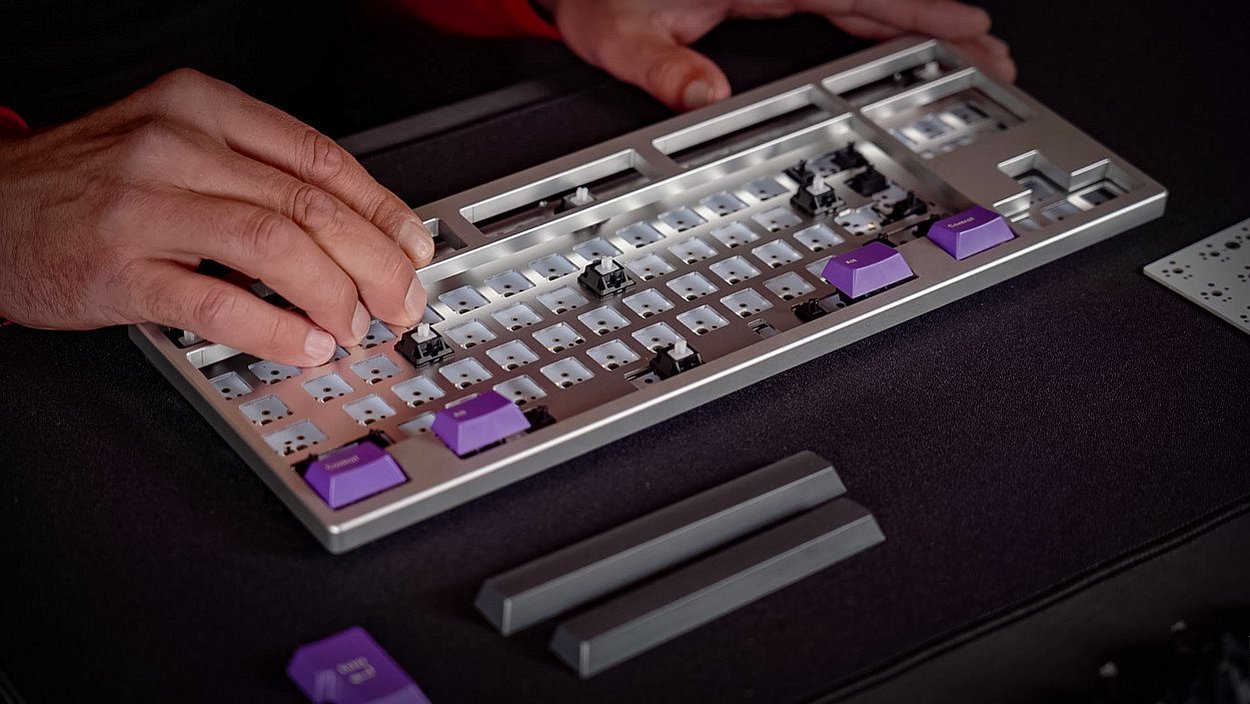
Before the actual soldering process can be started, a decision must be made as to the final keyboard layout. Since most PCB's and frames have a multi-layout design, it is advisable to install certain switches and key caps first. This ensures that the correct mounting points for the lower row of keys, including the space bar, "Enter", "Caps Lock", "Backspace" and "Shift" are correct. This step should definitely be carried out to avoid unnecessary desoldering or incorrect switch placement. In addition, the stabilizers must be installed during this step. Their position and design also depends on the layout.

Solder the switches
To facilitate the soldering process, it is recommended to insert the first switches into the frame and connect them to the PCB. We start with the middle and the corners to ensure a correct fit in the PCB later. These switches should then also be soldered in place.

Make sure that the PCB is pressed down a little bit during the soldering process, so that the switches sit straight and snug on the board. Please only solder in a well-ventilated room, as substances from the solder can evaporate and cause respiratory problems.

Completely solder the switches
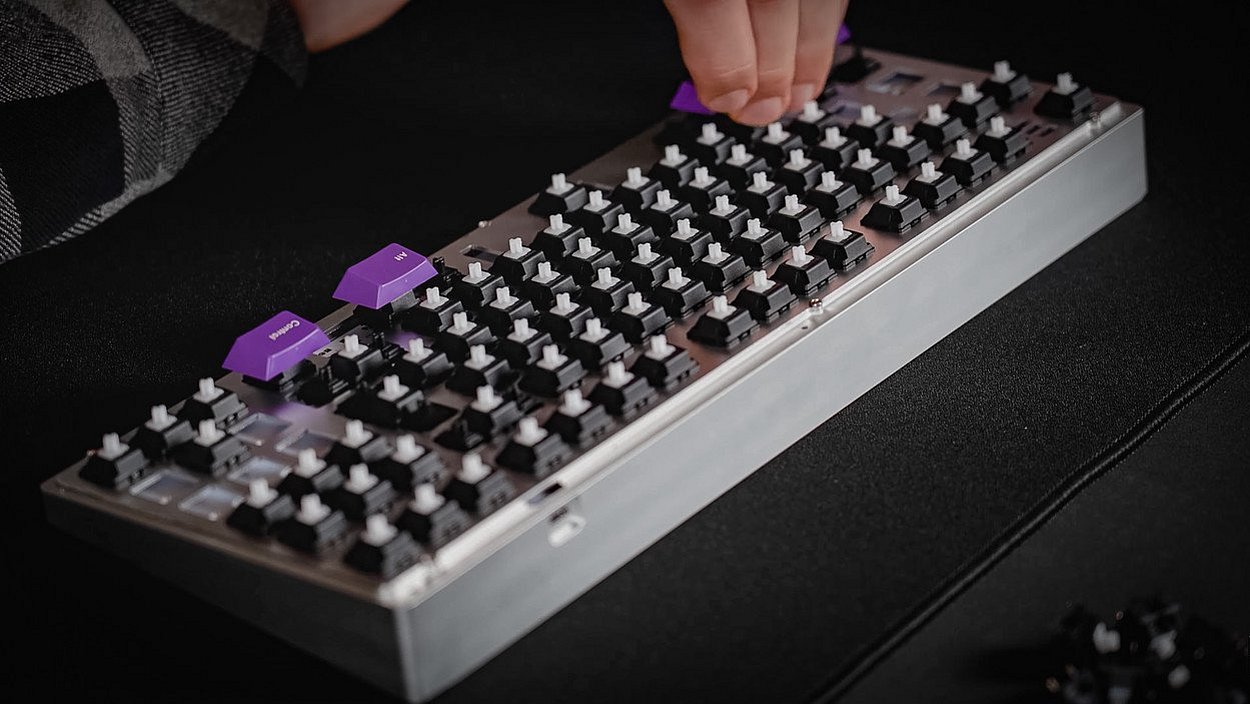
Now all missing switches can be inserted into the frame. This usually works best by inserting the PCB into the frame and then inserting the individual switches into the frame.

Then the entire assembly of frame, PCB and switches can be flipped over. Make sure that all switches are firmly in place and do not fall out. Now the final soldering process can take place. The temperature should be between 350 and 390 degrees Celsius.

Assembly
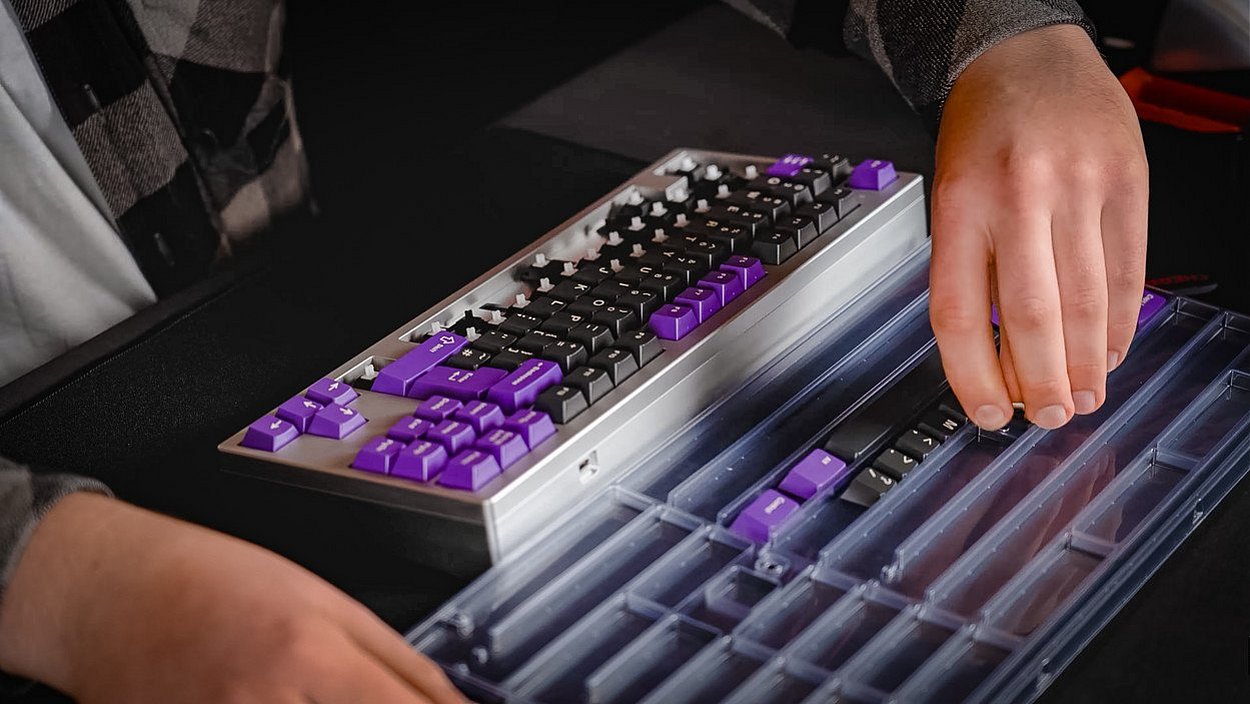
Now that all switches are firmly connected to the PCB, everything can be inserted into the keyboard housing and screwed together. Finally, the key caps can be installed. Your customized DIY keyboard is ready!

Links
The only thing missing is the actual programming to make sure that your keyboard works properly on your PC. How this works and what you have to pay attention to is explained in the seventh and last part of our DIY series.